Author Topic: Replacing the Instrument Panel Soon  (Read 1170 times)

Vision

  • Sr. Member
  • ****
  • Posts: 360
    • View Profile
Replacing the Instrument Panel Soon
« on: April 11, 2022, 01:08:16 AM »
In a few weeks I'm going to replace my instrument panel. Seems like all you need to do is take pictures and label all the wires. Has anybody done this before or have any advice?

Ruffus

  • Hero Member
  • *****
  • Posts: 1613
    • View Profile
Re: Replacing the Instrument Panel Soon
« Reply #1 on: April 11, 2022, 06:58:21 PM »
@Vision, it's not exactely what you were asking...but in principle same story on each scoot.
Screen off, front fairing, upper and lower handlebar covers...
Maybe this helps alittle bit..

https://www.kymcoforum.com/index.php?topic=31008.0
Happy and safe scootering, Ruffus

Vision

  • Sr. Member
  • ****
  • Posts: 360
    • View Profile
Re: Replacing the Instrument Panel Soon
« Reply #2 on: April 13, 2022, 12:50:27 AM »
Thanks, will post how it goes.

aschrauth

  • Sr. Member
  • ****
  • Posts: 336
  • Have patience, Don't be in such a Hurry.
    • View Profile
Re: Replacing the Instrument Panel Soon
« Reply #3 on: April 19, 2022, 08:29:18 PM »
Just curious, why are you replacing the pannel?
Kymco 125cc
Wolf Rx50 BBK 80cc

Vision

  • Sr. Member
  • ****
  • Posts: 360
    • View Profile
Re: Replacing the Instrument Panel Soon
« Reply #4 on: April 22, 2022, 11:19:08 AM »
At 38k the lights and clock have gone out and I can't replace them without risking breaking them. The panel is a little beaten up. I'm going to replace it and use the current one to explore how to resolve these issues in the future.

Vision

  • Sr. Member
  • ****
  • Posts: 360
    • View Profile
Re: Replacing the Instrument Panel Soon
« Reply #5 on: April 23, 2022, 07:33:14 PM »
Well, the replacement was straightforward and now I've got working dash lights and a clock. Am happy! The fuel gauge may be more responsive also but it's too early to tell. I recommend the upgrade. Will pull the old instrument panel apart to see how the clock works, I expect it's powered by a battery.

Stig / Major Tom

  • Global Moderator
  • Hero Member
  • *****
  • Posts: 14187
  • Rural Ohio
    • View Profile
Re: Replacing the Instrument Panel Soon
« Reply #6 on: April 23, 2022, 09:56:47 PM »
Good for you!
Photos possible?

Stig
Boston Strong
Rural Ohio

And, I'm feeling a little peculiar.

Vision

  • Sr. Member
  • ****
  • Posts: 360
    • View Profile
Re: Replacing the Instrument Panel Soon
« Reply #7 on: April 24, 2022, 11:31:34 PM »
Sure, do you have particular questions?

Start by removing the front handlebar plastic by removing the four screws holding the cover on and then remove the two bolts attaching the winkers. Also remove the front headlight plastic piece and disconnect the headlight cable connector from the current instrument panel cable. Then unplug the winkers by removing them from their connections to the current instrument plan. After accessing the instrument panel it's mostly straight forward on identifying where all the connections go, a few are color coded so it's best to take a picture of those. The thread below shows the connectors. After going slow and disconnecting all connections (everything is connected via snap connections), remove the old panel which is simply attached by 4 screws. Then reverse the process to install the new instrument panel.

https://www.kymcoforum.com/index.php?topic=30396.msg219648#msg219648

I'll keep you updated on what is found by pulling the old instrument panel apart.

Vision

  • Sr. Member
  • ****
  • Posts: 360
    • View Profile
Re: Replacing the Instrument Panel Soon
« Reply #8 on: May 07, 2022, 04:27:17 PM »
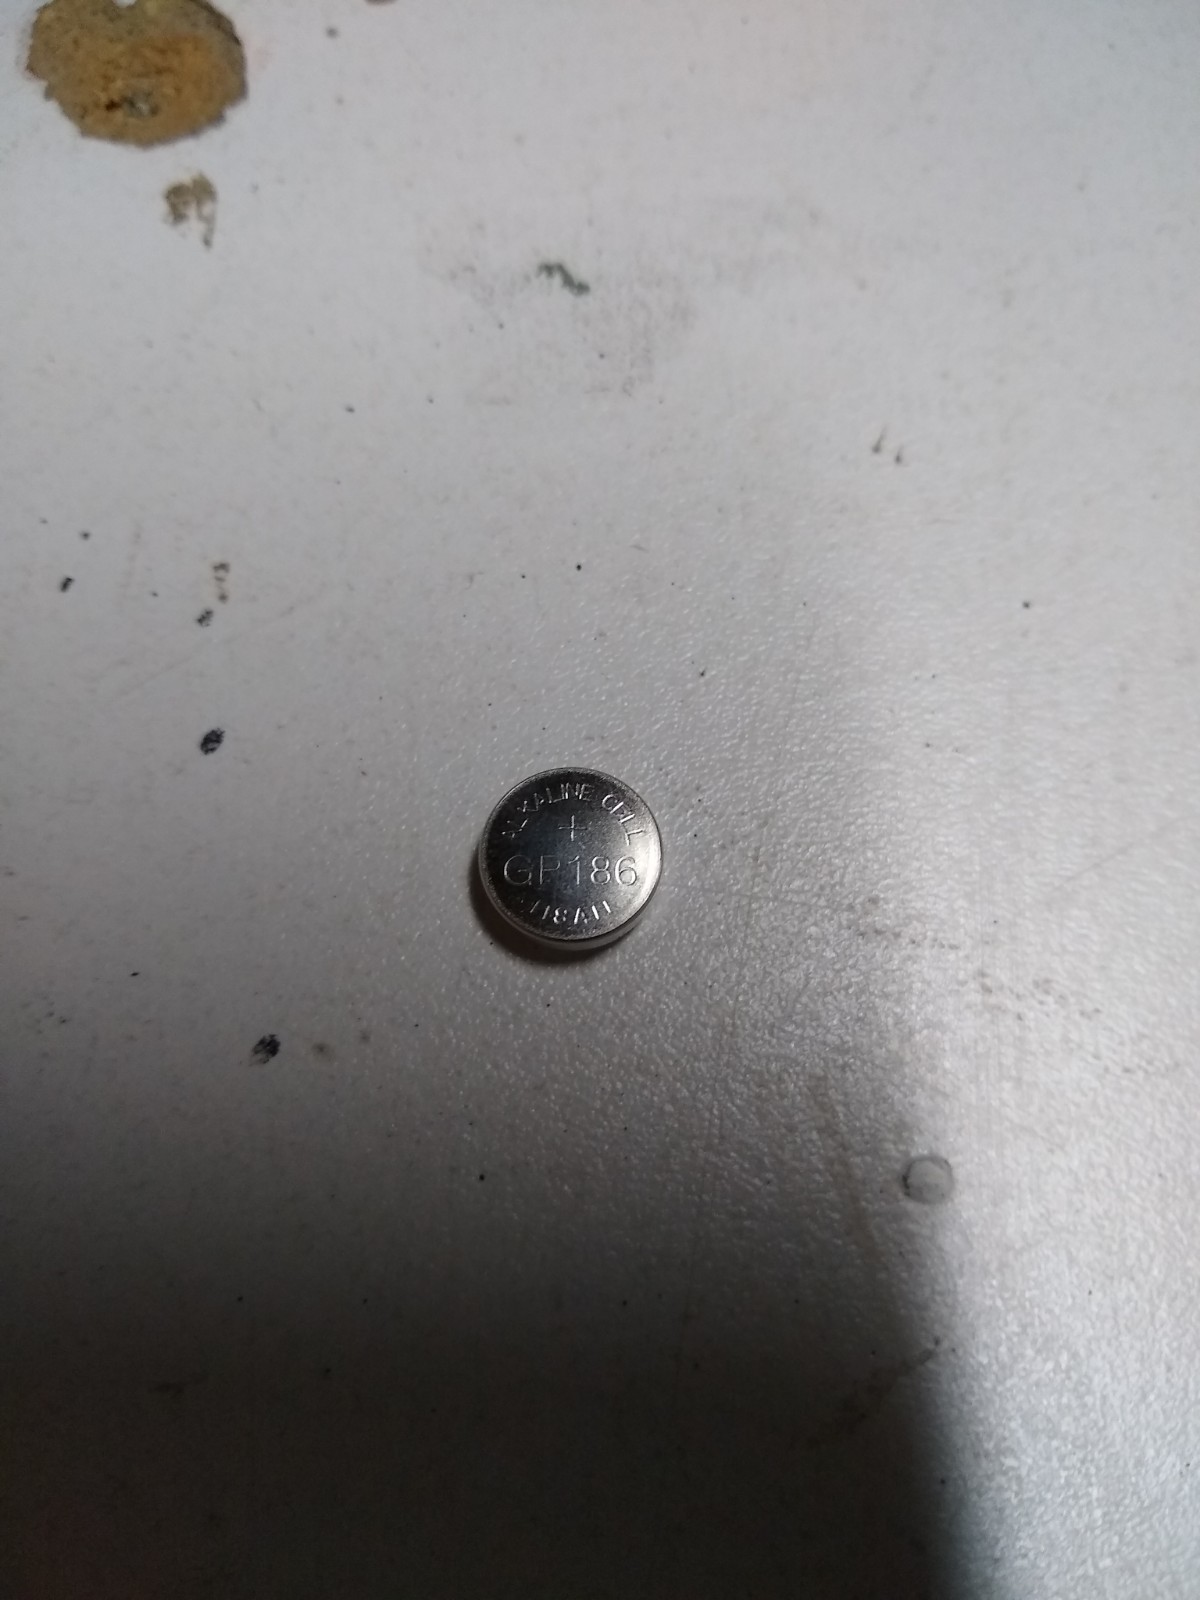
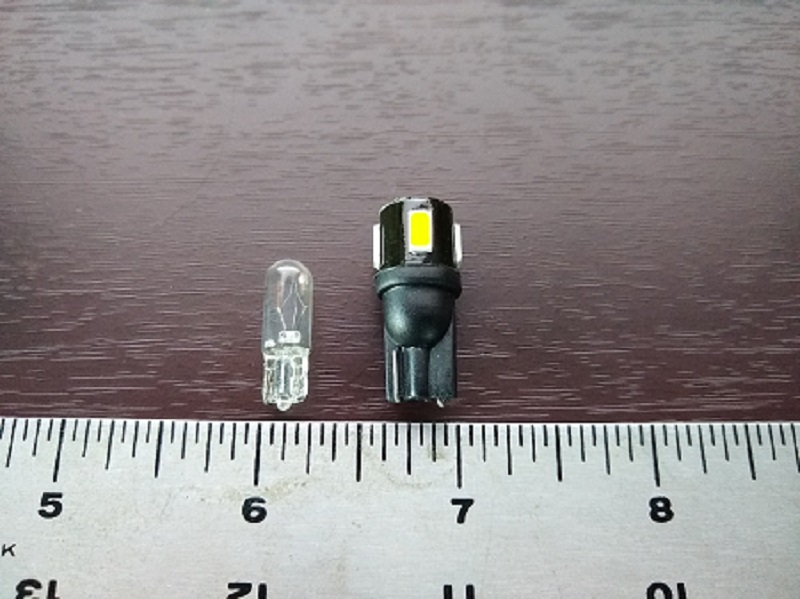
I took the panel apart today. I can finally confirm the clock is powered by a battery. A GP 186. It's a little work getting to it but it can be changed. There are two type of bulbs, two clear winker bulbs and two larger bulbs with black looking caps which produce the amber illumination for the panel.


The rear of the panel with all bulbs removed.


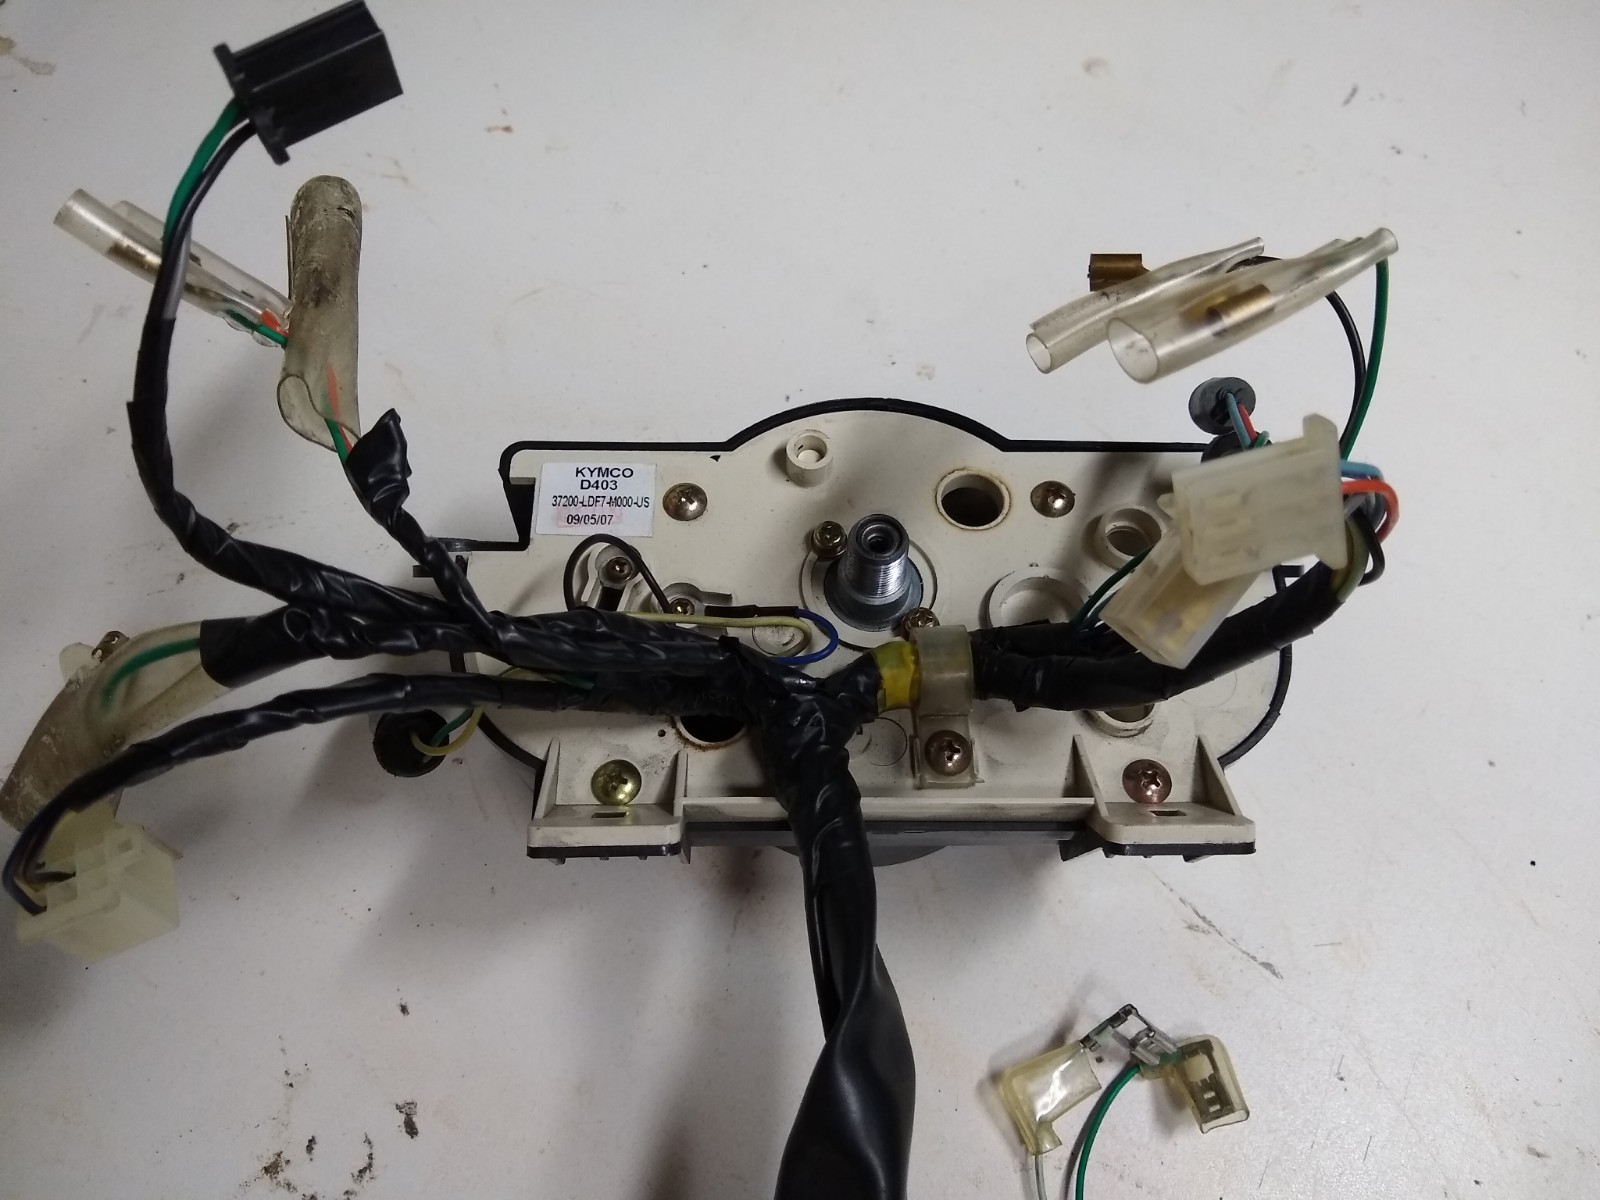
After removing 4 screws you can access the instruments.


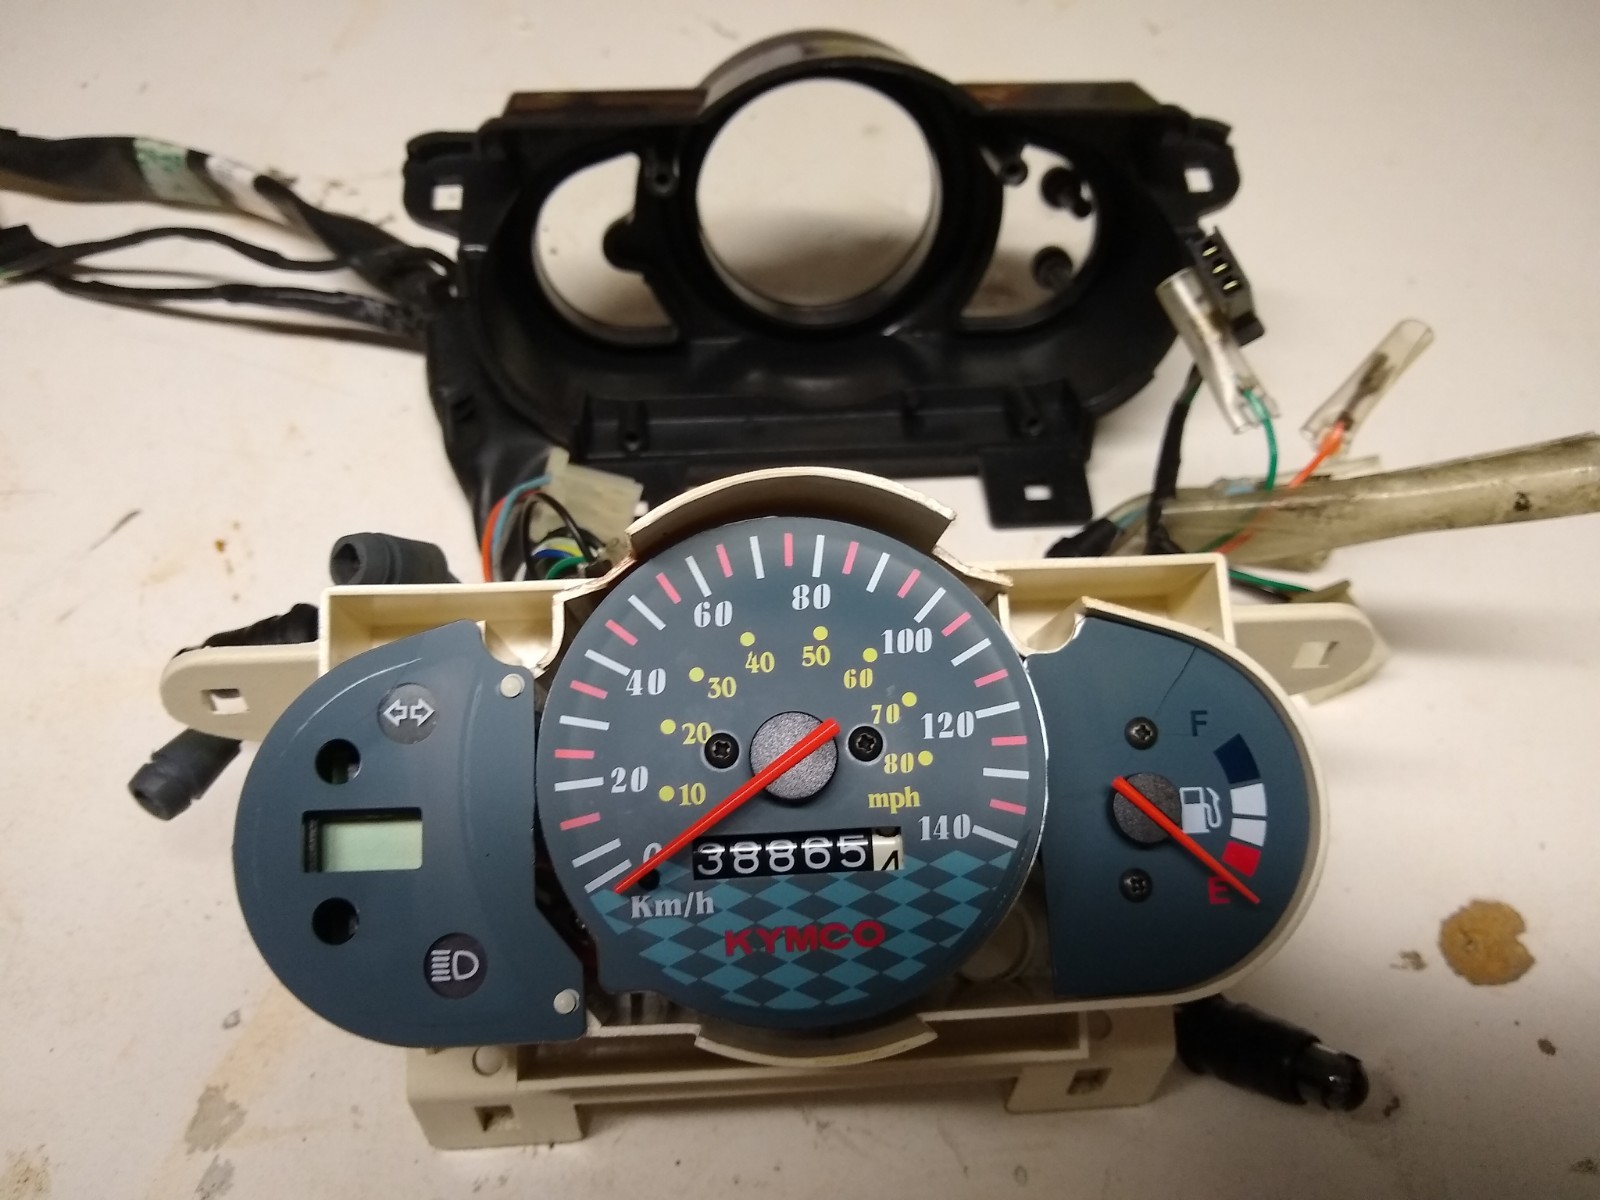
The left panel lifts off.


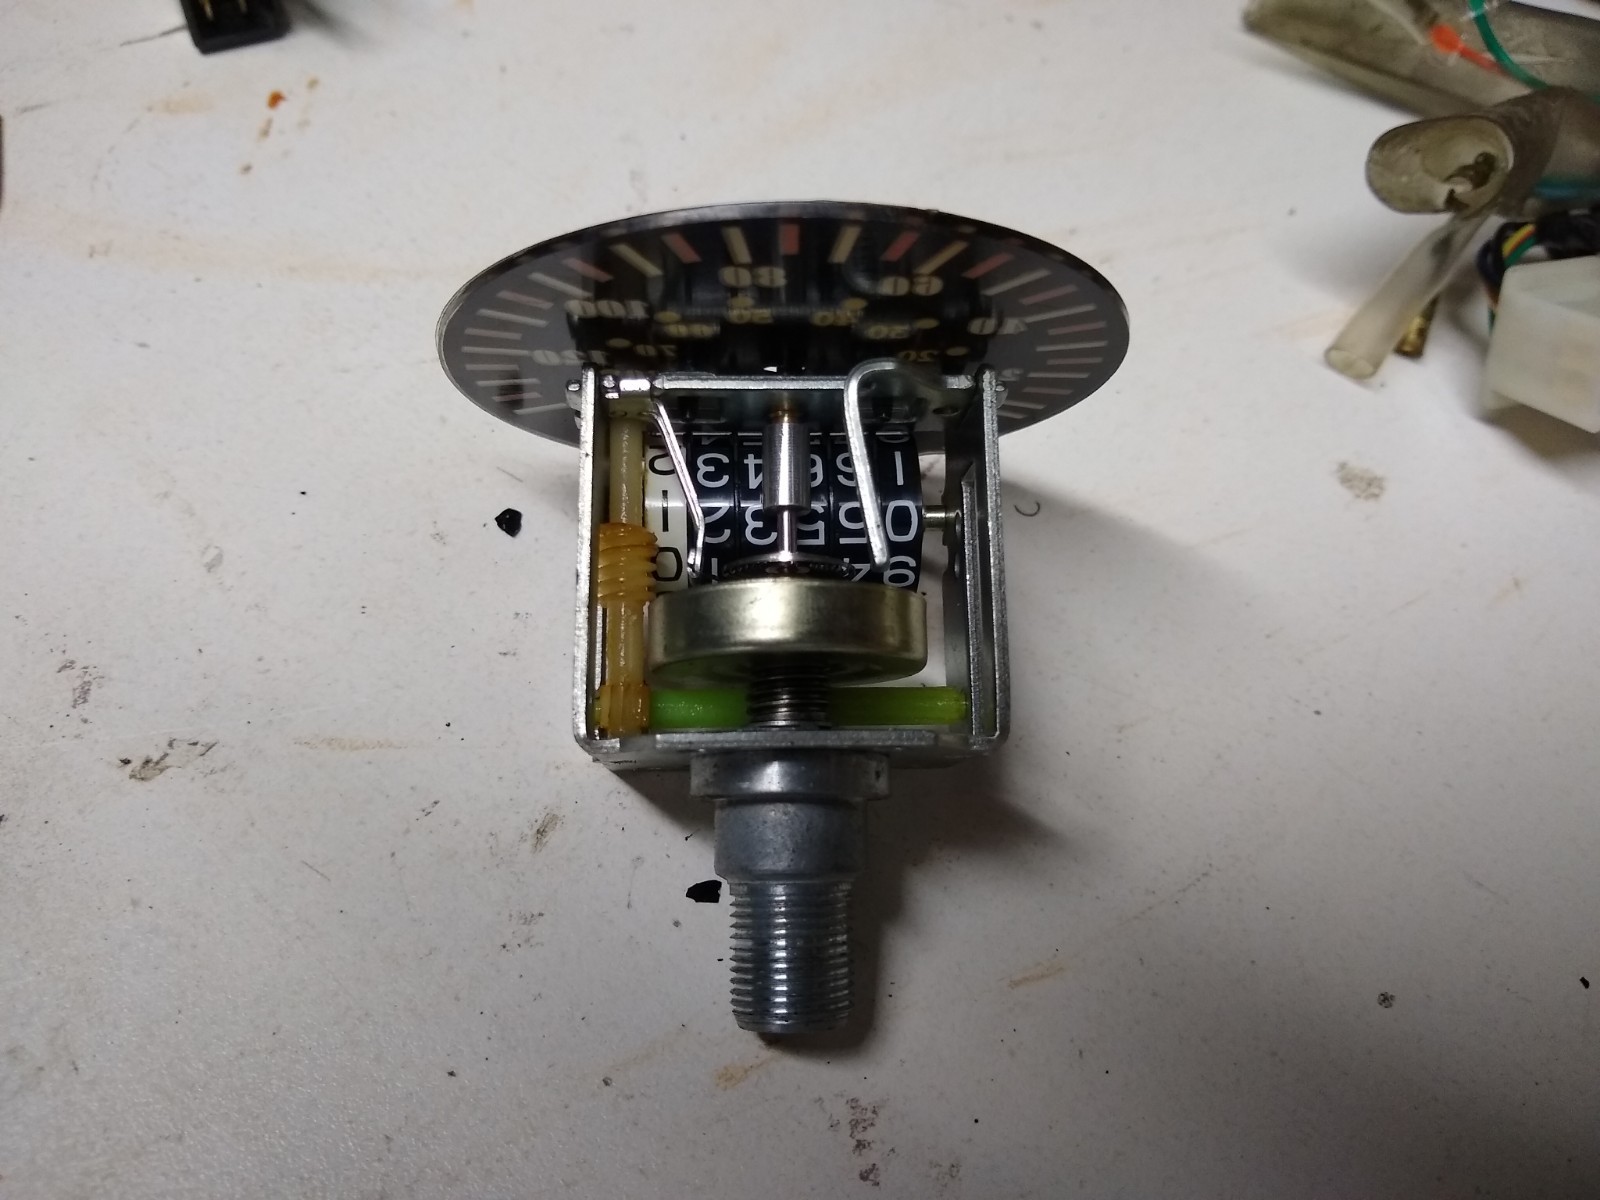
Remove two screws on the rear and the speedometer comes off.


The metal wheel spins(from it's connection to the cable) and moves the needle.


It's hard to see but the gas gauge is run off a bundle of copper wire.


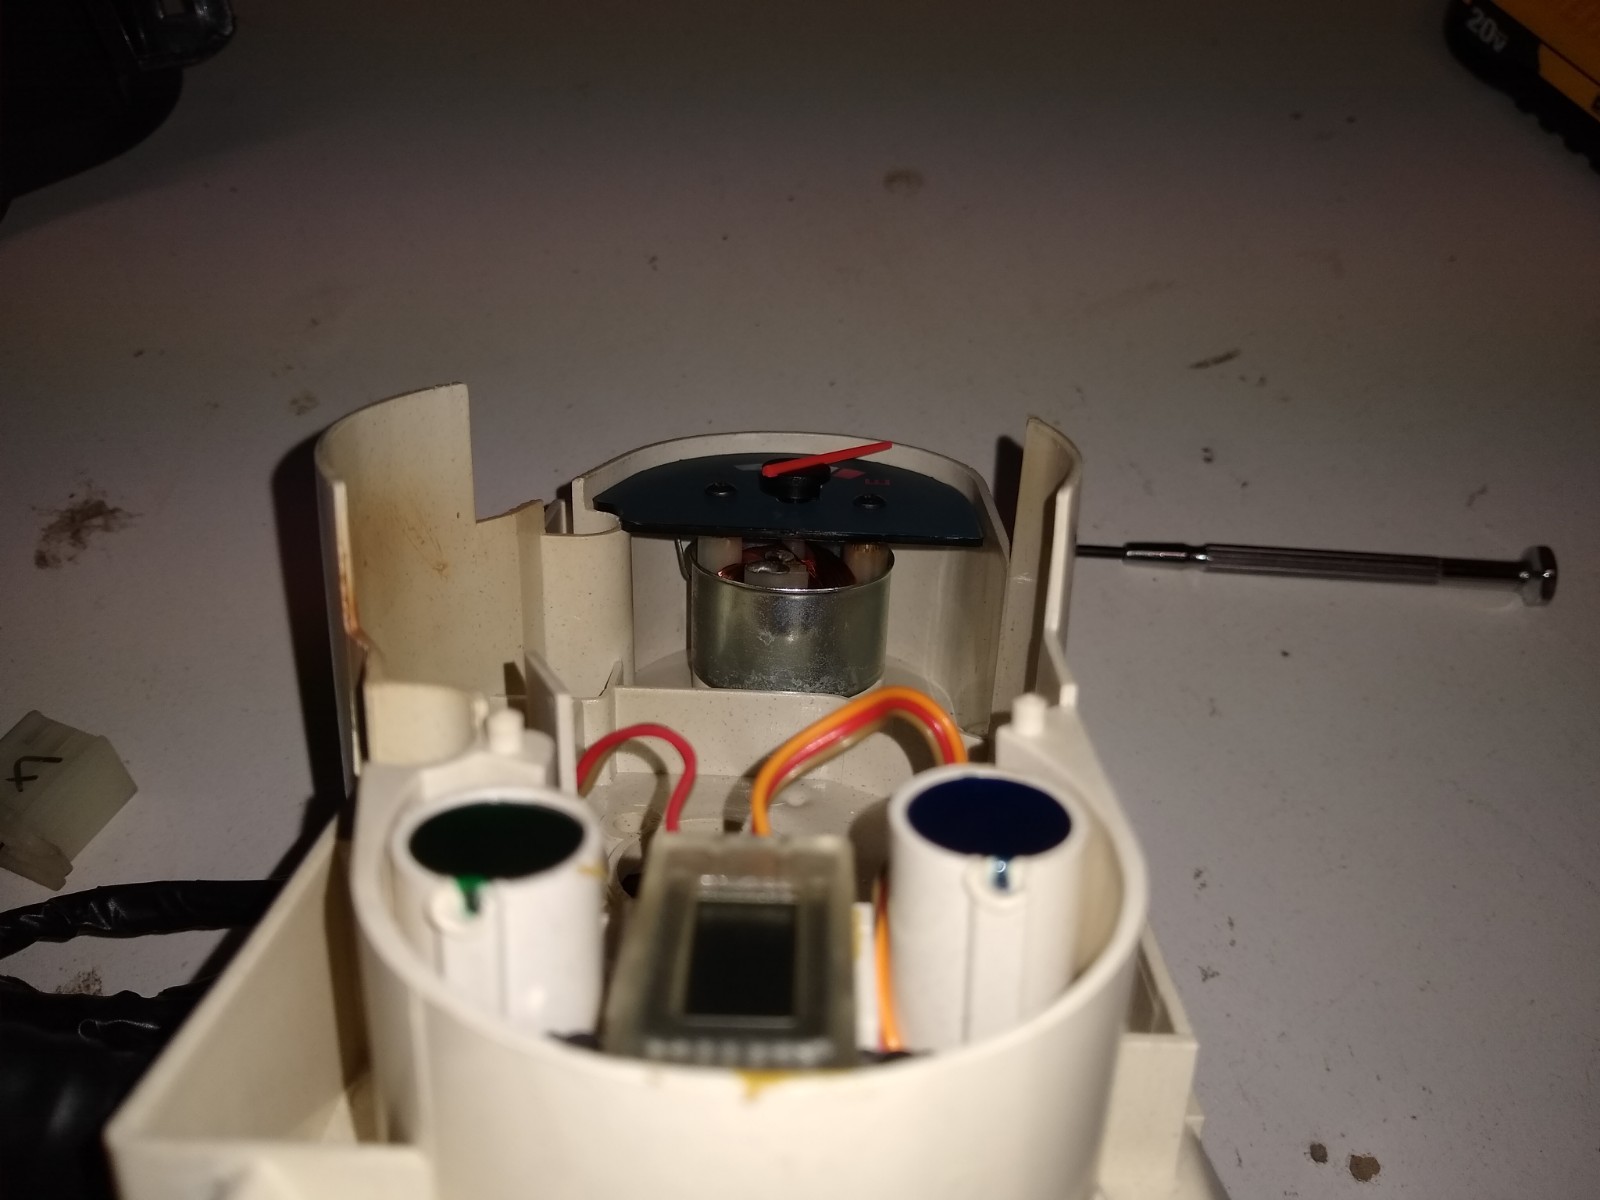
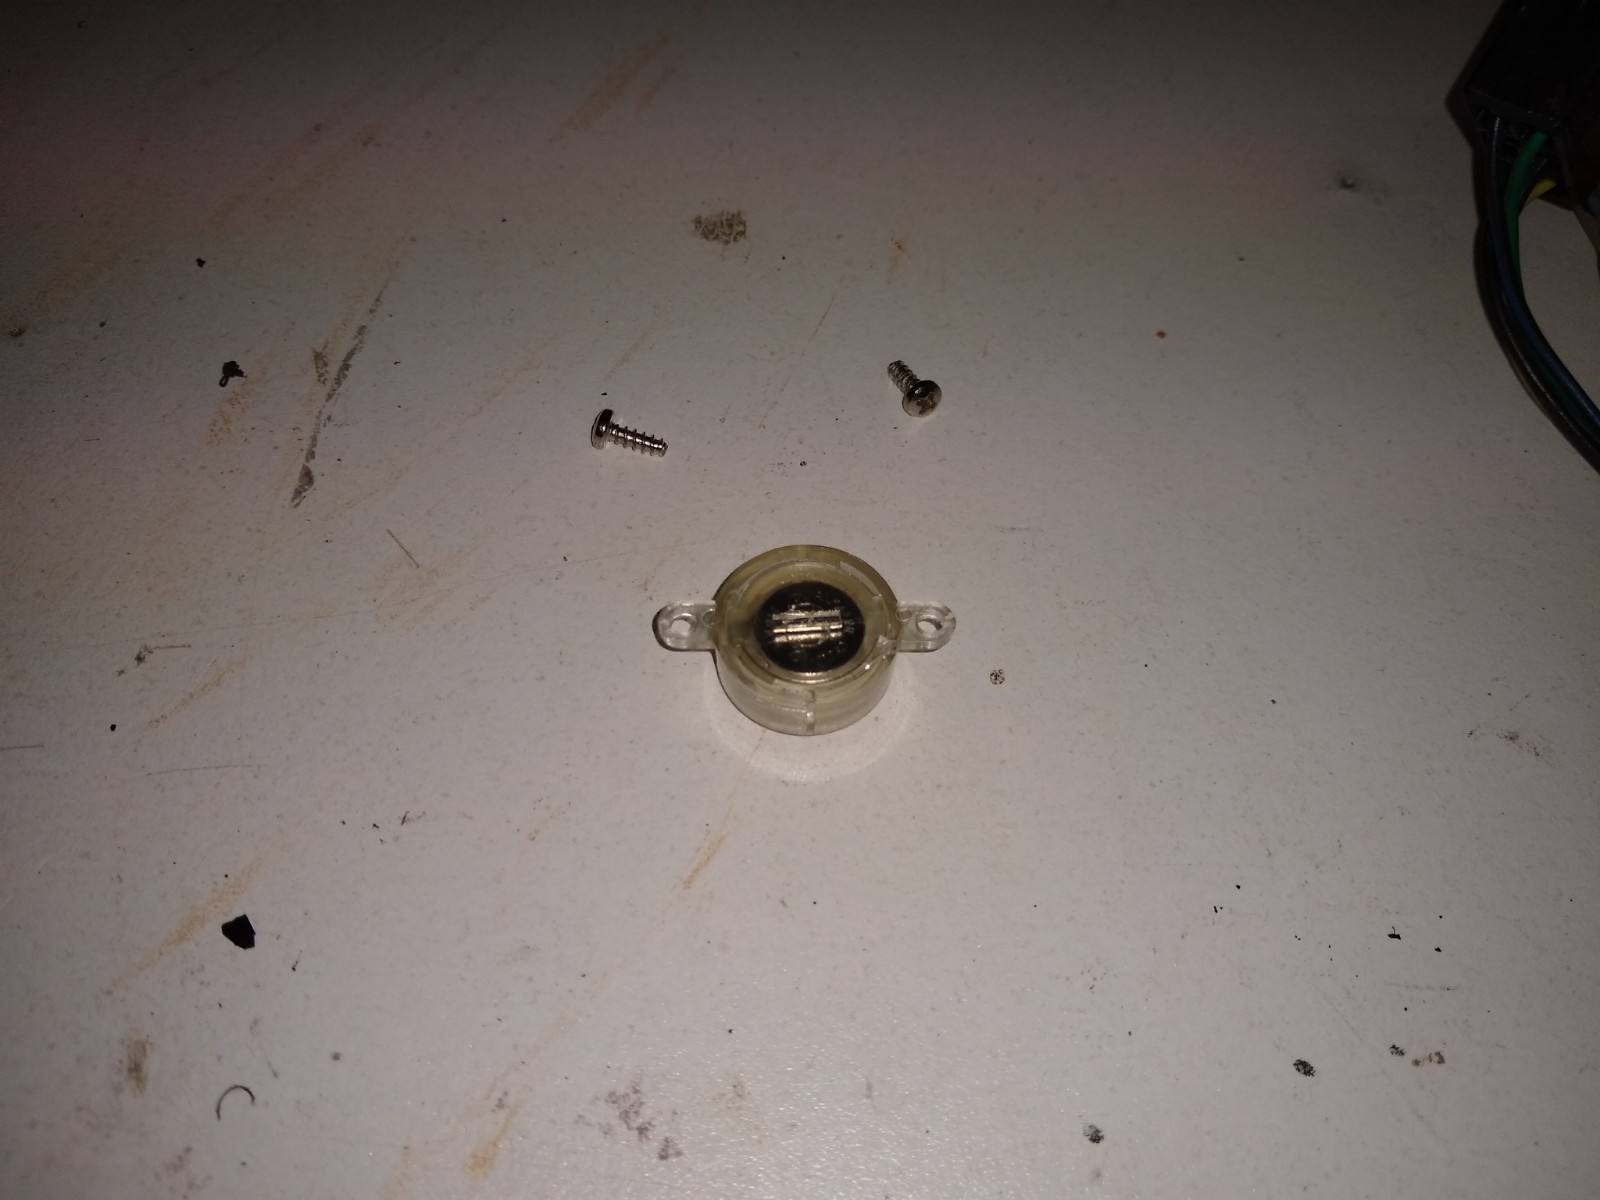
The clock is glued in and wires run to a battery holder screwed into the panel. The wires connect to the battery holder via solder points and a cap of hot glue adds reinforcement (I had already broken the cap off in error here. Be careful to leave it attached)


The battery holder is attached to the holder with two screws. A twist of a Philips head screwdriver opens the holder.


Battery


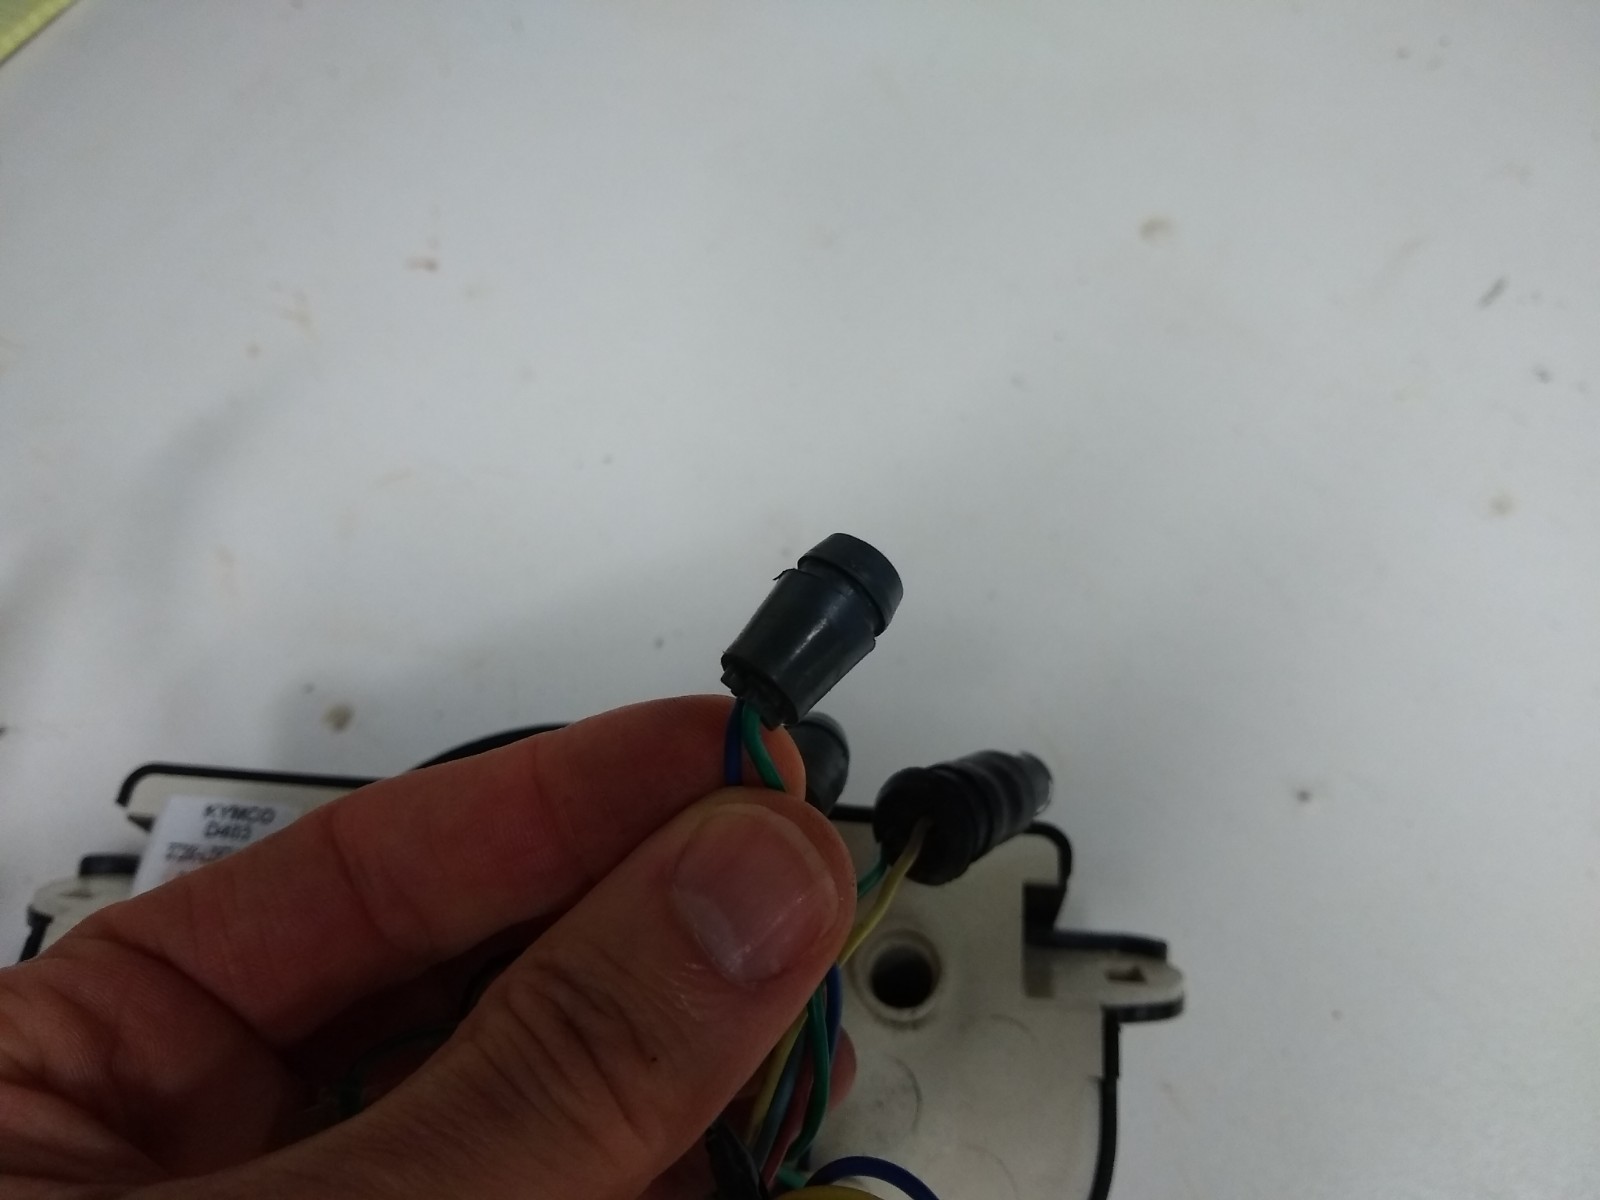
Bulb for illumination


Winker bulb (on left)


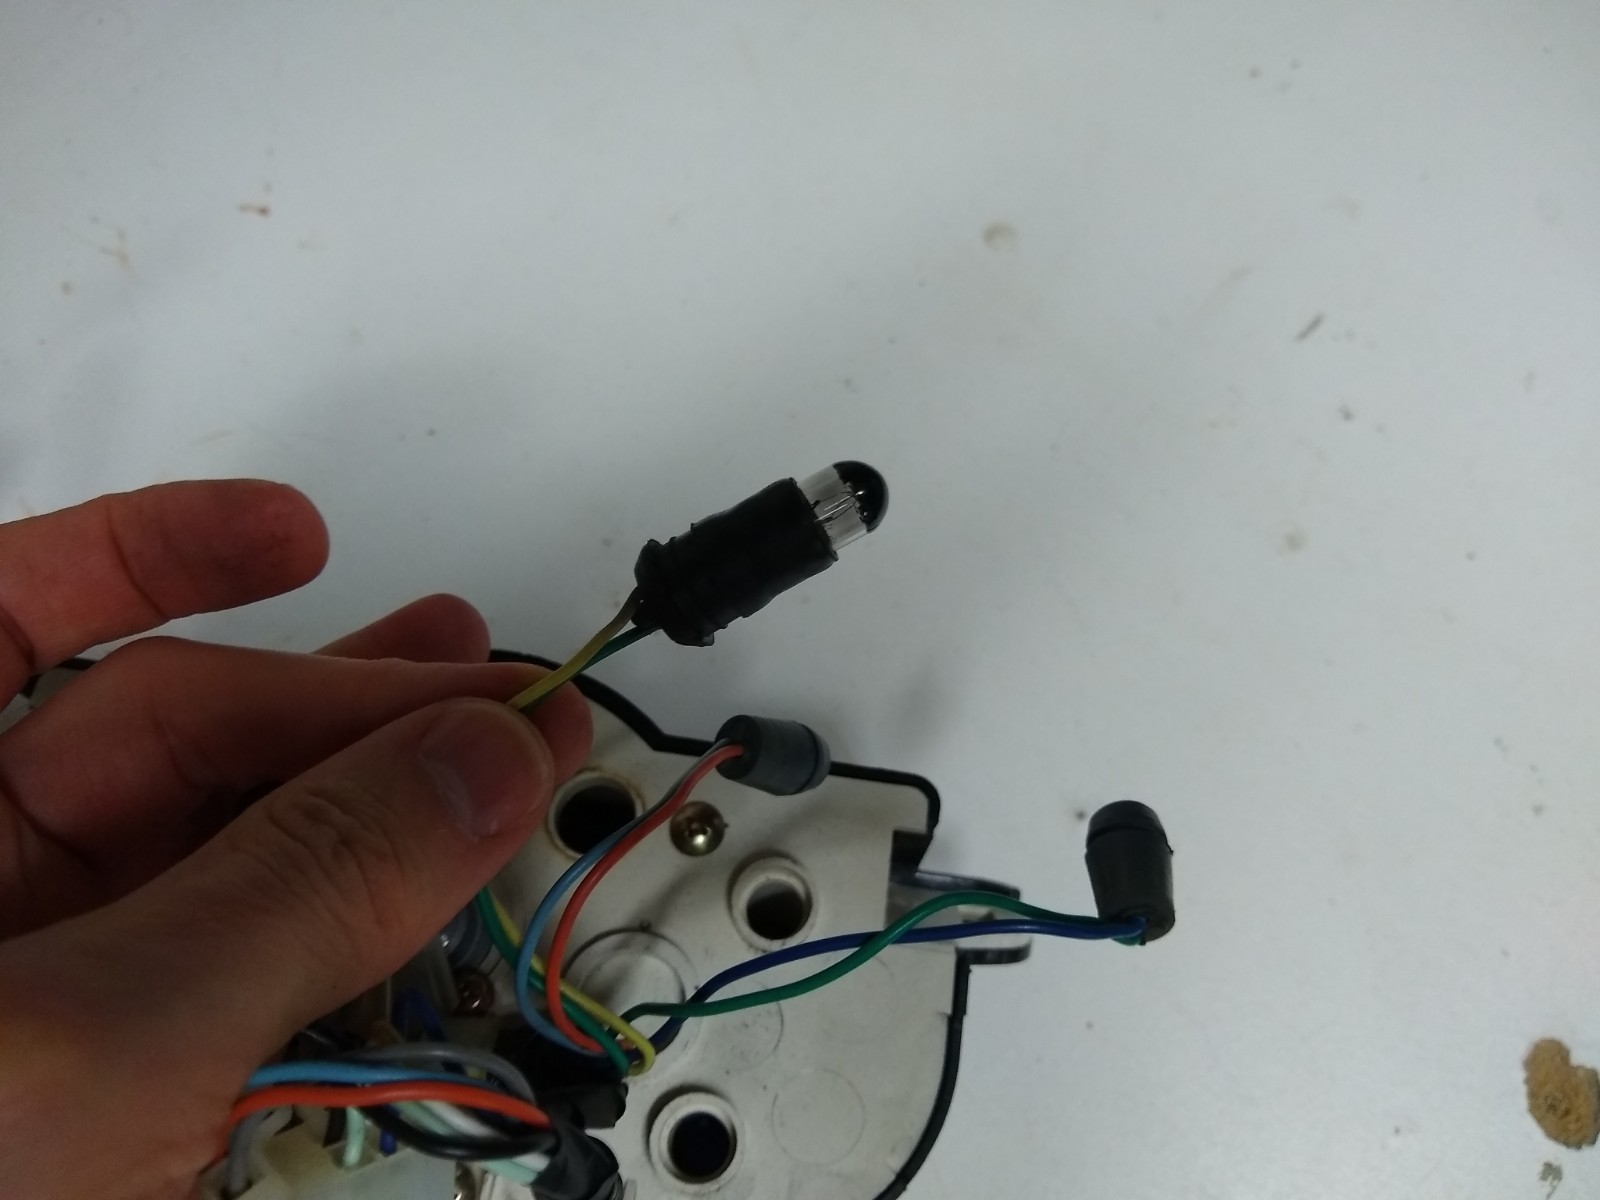
I had tried to change the bulbs in the original panel and had a hard time removing the rubber housing from the panel, concerned I would break something. I now think the wires and connection are tough and the rubber housing is to be removed from the panel by pulling on the wires.


Resemble everything in the reverse order.
« Last Edit: May 07, 2022, 04:29:48 PM by Vision »

Stig / Major Tom

  • Global Moderator
  • Hero Member
  • *****
  • Posts: 14187
  • Rural Ohio
    • View Profile
Re: Replacing the Instrument Panel Soon
« Reply #9 on: May 07, 2022, 05:45:34 PM »
Nice job Vision with the photos!
Sure to be a help to someone in the future.
Thanks,
Stig
Boston Strong
Rural Ohio

And, I'm feeling a little peculiar.

Iahawk

  • Hero Member
  • *****
  • Posts: 2435
  • Eastern Iowa, USA
    • View Profile
Re: Replacing the Instrument Panel Soon
« Reply #10 on: May 07, 2022, 07:08:36 PM »
great job! I love seeing how things come apart and what makes them work...thanks!
2010 People S200 - sold after 8 wonderful years!
2014 Ninja 300
1996 Honda Helix
1984 Honda Nighthawk 650 - work in progress

Ruffus

  • Hero Member
  • *****
  • Posts: 1613
    • View Profile
Re: Replacing the Instrument Panel Soon
« Reply #11 on: May 07, 2022, 07:23:17 PM »
@Vision, great, thanks, congrats👍
Happy and safe scootering, Ruffus

aschrauth

  • Sr. Member
  • ****
  • Posts: 336
  • Have patience, Don't be in such a Hurry.
    • View Profile
Re: Replacing the Instrument Panel Soon
« Reply #12 on: December 26, 2022, 04:45:18 AM »
I know I am a little late to the party but my clock battery went out when we had the winter blizzard and I was woundering if the battery was replacable. Now I know it is, For some reason I thought the mini clock was powered by the scooters battery, Thank you for your detailed pictures!
« Last Edit: December 26, 2022, 04:49:07 AM by aschrauth »
Kymco 125cc
Wolf Rx50 BBK 80cc

aschrauth

  • Sr. Member
  • ****
  • Posts: 336
  • Have patience, Don't be in such a Hurry.
    • View Profile
Re: Replacing the Instrument Panel Soon
« Reply #13 on: May 22, 2023, 03:38:11 AM »
Well, the replacement was straightforward and now I've got working dash lights and a clock. Am happy! The fuel gauge may be more responsive also but it's too early to tell. I recommend the upgrade. Will pull the old instrument panel apart to see how the clock works, I expect it's powered by a battery.

Vision, I know this topic is an old thread but when you Opened up the instrument cluster were you able to access the needle for the gas gauge. Reason why I am asking is because my gas gauge when my scooter is off reads below E and I think it has something to do with the position of the needle moving. Im assuming I hit a bump or something that caused it to move out of place.
Kymco 125cc
Wolf Rx50 BBK 80cc

Vision

  • Sr. Member
  • ****
  • Posts: 360
    • View Profile
Re: Replacing the Instrument Panel Soon
« Reply #14 on: May 23, 2023, 09:33:32 PM »
Yes you can access it but it's not moving unless you break it. It seems the only way the needle in my panel can look like it's moved out of its normal range (resting completely below E) is if the screws holding the gas faceplate are loose making it look like the needle has lost alignment or if the entire housing of the gas gauge has become loose from the backplate of the instrument panel. You can't pull the needle out or manually adjust it up or down in an effort to readjust its range. A lot of force would be needed to break the needle's range while riding as it can take a fair amount of force using your hands to test its limits.

Is it causing a problem?


An Error Has Occurred!

Call to undefined function split()